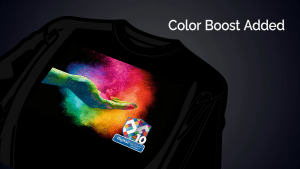
 When you print T-shirts, white toner laser transfers, or create DTF transfer with ink removal, the semi-transparent areas can occasionally look faded. With the Color Boost Wizard, you can restore the vibrancy of your design in these areas for a perfect print!
To access the Color boost wizard:
- Go to the “Queue” menu.
- Select “Setup Color Boost”. This will open the Setup color boost dialog.
Set the page size of your print bed, which is specific to your output device. Next, select the graphic that you want to use as the print sample. Finally, set the size to print the graphic for the sample. This will allow you to fit more samples on the page, offering more variations of choke amount to choose from.
Select “Next”, then a new dialog will allow you to choose the minimum and maximum increment of prints as well as the increment of change. A range featuring a minimum of 2 and a maximum of 12, with increments of 2, should show the effect of the color boost, depending on your image. Now click “Print Color Boost Chart”.
You will see that your jobs with a variation of the color have been created in the queue. Select any of the jobs, right click, and select “Print” or select the print icon from above.
CMYK colours in the transparent areas will be boosted, while the white underbase area stays the same. In your samples, you may see that colour boost can be too over saturated when you print it out. Color boost will only effect semi-transparent areas and will not have any effect on areas of the graphics that are opaque. To change the opaque areas, you would need to use the color boost graphics slider found in the “Print Modes” dialog in the “Processing Options” section.
After viewing the printed results and comparing the color boost values, go back to the Setup color wizard and in the field representing the preferred color boost value on the right and enter the chosen value, then click “Next”.
In this final dialog. You have three options. Only apply the choke to the queue, apply the choke to the current printmode or create and new printmode. We suggest creating a new print mode and giving it a name before clicking “Finish”.
Following the above steps, a new printmode has been created, and you can select it on the printmode dropdown list found on the “Queue” tab in the lower right area of your screen. If you ever make changes to the printmode, you will need to re-select the newly modified printmode in the queue before any new changes will be applied to the queue.
The color boost is a printmode feature, if you change the color boost in the queue instead of the printmode, you will lose the color boost value you set if you select another printmode.
For a more in-depth look at the color boost wizard, check out our video below: