When printing your film separations, there are a few things to consider. Too little ink can cause fuzzy appearing dots on your print. Too much ink increases drying time, and can risk leading to bleeding issues.
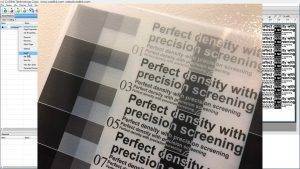
Before starting a large job, we suggest printing an ink density test page. Test pages determine optimum ink density, which affects printed film quality.
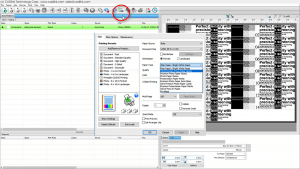
To get started printing an ink density test page, finish creating and setting up a queue, or access
- Queue menu.
- Ink Density Test Page.

Before printing to a device using a windows print driver, be sure to check your printer status to ensure everything is configured correctly. Controls vary for windows print drivers, and are explained in your device manual.
If there is a transparent media option, then this is generally the most reliable for feeding media into the printer when performing an ink density test. If transparency is not an option, then try a Glossy photo option.
Changing ink settings from color to black & white will generally force printing with only black ink. If you find that a greater ink density is needed, then set your print to color, though this can risk further bleed issues by over-inking.
For the most accurate assessment of ink density, print quality should be set to “highest” where applicable.
When you’re ready to print your test page:
- Right-click the test page in your queue.
- Select “Print”.

Take a look at the printed page, or use a densitometer for a measurable result. You’ll notice reference page numbers alongside each result.
Once you’ve decided which sample looks best, enter the page number in the ink density dialog and your queue will be updated.
For Windows printers in other design applications, the new printer name
is prefixed “CADlink”. For example, “ACME XX-50000 Series” produces “CADLINK XX-50000 Series.”. Use this option when sending your jobs from programs like Illustrator or Corel Draw.